This article is a part of our program, #re:educate where we empowering
cybersecurity students and beginners to share their understanding
about anything related to offensive security. For more info, refer to
this link RE:HACK - #re:educate
Author: Wan Muhammad Khairuddin
University: Universiti Teknikal Malaysia Melaka
Hi readers! This is a step by step, in basic, on how to reverse engineer an executable files that is written in C language. Reverse engineering is simply a process of understanding how a program works. When we got the end product, we disassemble and poke it around to see the behaviour of the product and then get some idea how the program works in the background. But in our context, we disassemble a binary executable files, run it and do analysis to understand the behaviour of the executable files.
In this walkthrough, we will use some program that will help us to reverse engineer the executable files. Reverse engineering can be overwhelming for beginners but we will try our best to explain and share tips on how you can easily understand the flow of the program just by reading the assembly code (static analysis).
What is Reverse Engineering ?
Reverse engineering is a process or method through which one attempts to understand how an application works when we don’t have the source codes. We understand it by disassembling the application and look at each function’s implementation.
Prerequisite
The most important things that need to be understood before we can start reverse engineer an executable file are:
- Assembly language
- Registers
We would not be able to get the source code of an application written in C or C++ because it will be converted into assembly language once compiled. You don’t have to be a master or can write a program by using assembly language to do reverse engineering. The code can be understood simply by knowing a few basic instructions and keywords.
Register is one of a small set of data holding places that are part of the computer processor. A register may hold an instruction, a storage address, or any kind of data (such as a bit sequence or individual characters). Some instructions specify registers as part of the instruction. Register is like a variable that stores data. It is also used to perform mathematical calculations. You can learn about common registers here. We would not explain much about register in this article.
Reverse Engineer a Simple Program
Now we will start the main purpose of this article. We will reverse engineer this file from Crackmes. Let’s get started.
Tools needed (for Windows):
- IDA Freeware - https://hex-rays.com/ida-free/
- Git Bash - https://git-scm.com/downloads
First we need to know what file we are dealing with. I will use file command in git bash to find out the type of the file.
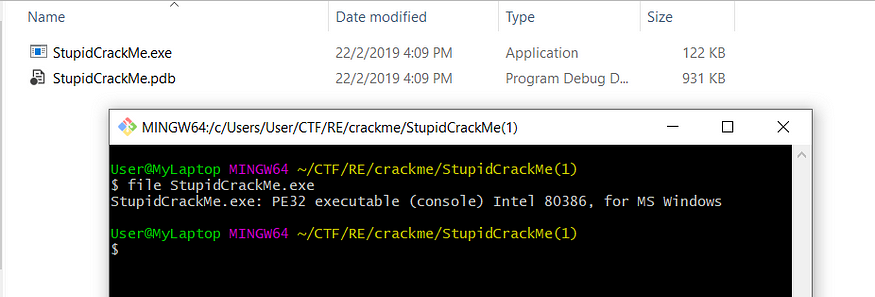
From the command, it says the file is a 32-bit PE executable file. Thus, we know that it is for Windows environment. We would not need a Linux machine in this case.
Next, we can try run the file through our terminal (cmd.exe).
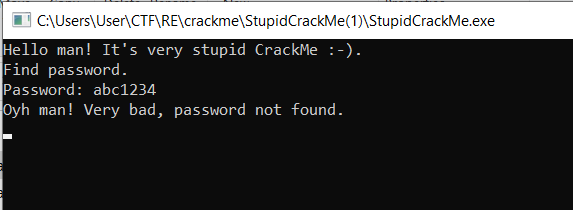
What the program does above is, it asks the user to enter a password and then display a message if the entered password is wrong or correct. From this behaviour, we can conclude that our goal is to find out the correct password. So let’s disassemble this file and figure out how the password checking functionality works.
Open our IDA > Choose new > Drag our file into IDA.
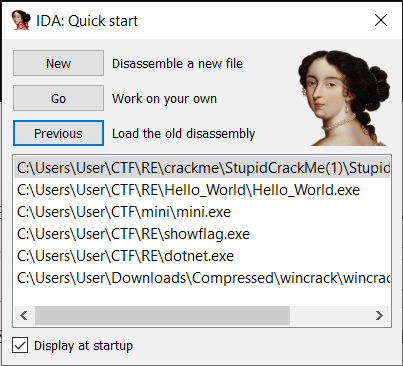
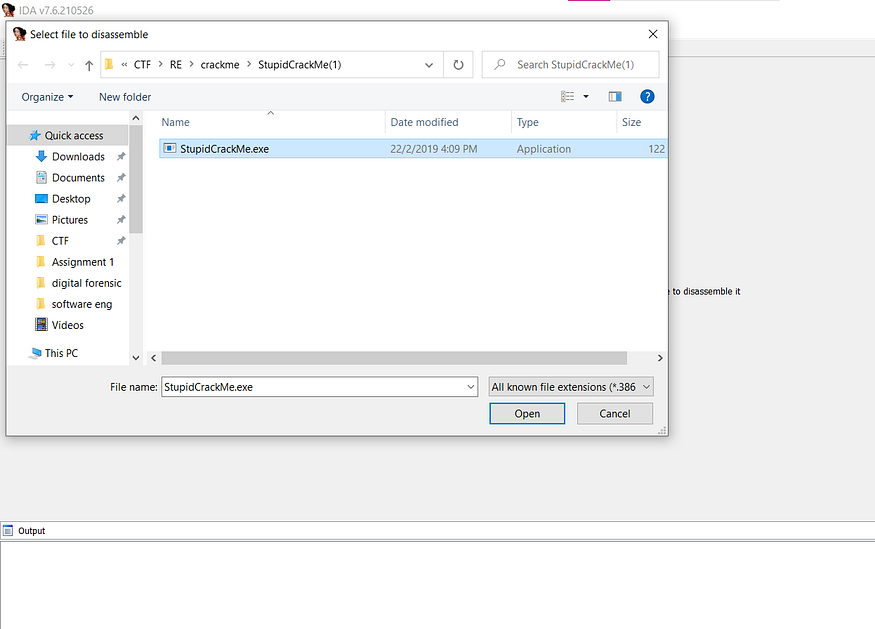
Complete the importing process and then it will look like this.
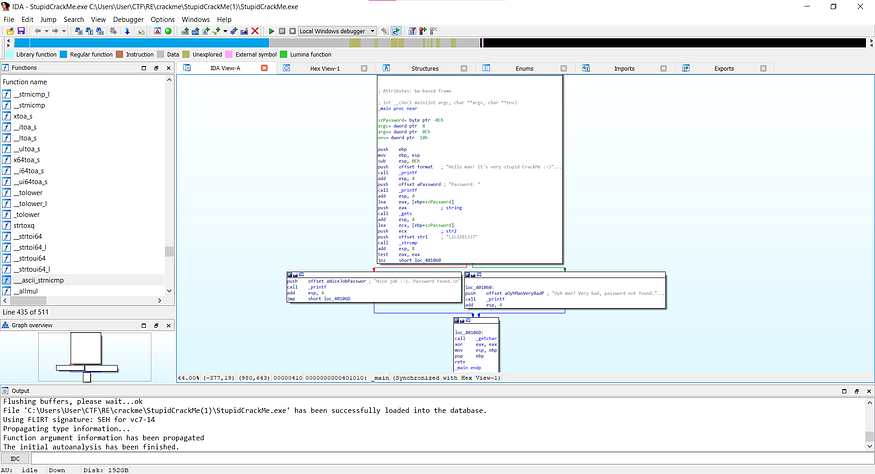
It does look overwhelming, but rest assured, we will walk you through each process to reverse engineer this file and collect the correct password.
First let us look at the top section.
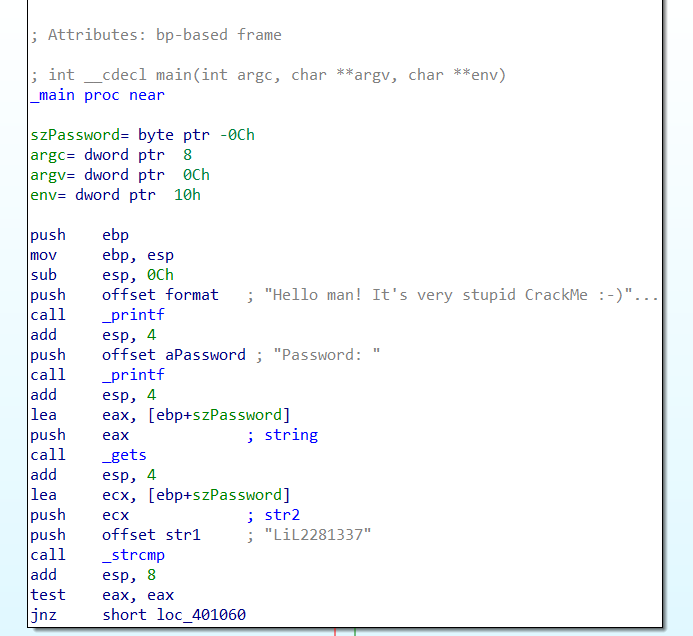
You’ll see a lot of instructions here. It is easy to understand what is happening in it by focusing at the most significant things which is the function.
First we look at the call instruction. This instruction calls a function ; printf, gets and strcmp.
printf is when the program is printing something on the screen. In the beginning, we noted that the program displays a welcome message. So now we know our position or which part of the program we are looking at.

Move on to the next function is printf again. But this time, it displays the password: before the program asks for the user input.

Next is gets function. As we know gets function takes user input so what this assembly instructions do is taking the user input.
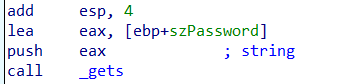
The instruction above says that it takes the address of szPassword variable and store it inside $eax register. Then after gets function finishes, the user input is stored inside whatever address the $eax holds. In this case $eax holds address of szPassword. So the user input is stored inside szPassword variable.
Last function is strcmp. This function compares two strings and check if these two strings are equal or not.

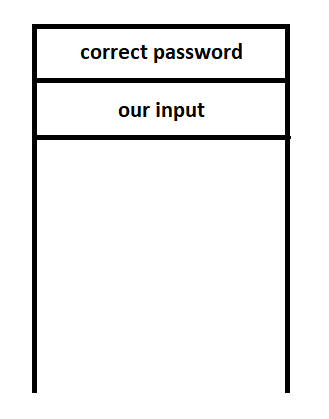
As you see above, before strcmp was called, the instructions push something onto the stack. The first one is szPassword, which stores the user input and then the instructions push str1onto the stack. Then strcmp is called. These two strings, szPassword and str1 are compared by the strcmp function. So basically our input is being compared to str1.
Next, let’s take a look at what happen after our input being compared.

There are two paths here; the red path and the green path. If the strcmp return 0 (which means if our input is equal to str1), we will be following the red path. Otherwise, we will be following the green path. Since we are looking for a correct password, we must follow the red path (look at the final message shown in the printf)

Further digging the file, we can see there’s a value set at the str1 which is LiL2281337.

Let’s try if LiL2281337 is the correct password.

Success! It seems we have found the correct password!
Additional notes
Some may ask, how do I know that szPassword and str1 are the strings that are being compared by strcmp? Let me explain in-depth how function calls in assembly.
strcmp is a function that takes two parameters.
int strcmp (const char* str1, const char* str2);
In 32-bit assembly, before a function with parameters being called, the value of the parameters will be pushed onto the stack first. Then when the function is called, it will take whatever value from the top of the stack as its parameter value. Let’s take a look at this instructions again.
As you can see there are two push instructions, push ecx pushes our input onto the stack and push offset str1 pushes the correct password onto the stack. Now our input and the correct password are placed at the top of the stack.
Then strcmp is called, it will take two items from the top of the stack to fulfill its two empty parameters. That’s is how function with parameters being called in 32-bit assembly.
Similarly to the printf. printf takes string to be displayed as its parameter. So the string must be pushed onto the stack first before printf is called.
Conclusion
Reverse engineering is quite complex for a beginner but with the right mindset and methodology, anyone can understand the flow of the program even though they have only a little knowledge about assembly language. The most important thing is to find a suitable methodology and know what to look for.
To anyone who wants to explore reverse engineering, I suggest reading as many reverse engineering writeups, articles, and research papers as possible. We will be able to learn more about reverse engineering as a result of this.